Amazing VS Code Settings
Productivity is the most important thing you need as a programmer and professional. The work you deliver is more important than the number of technologies you know.
Interestingly, the times we are living in make it hard to focus on work due to abundant distractions. At time same time, the number of resources to work fast and efficiently is also increasing day by day.
We can’t save you from distractions but we can definitely help you set up your tools properly and provide you with enough resources to help you be more productive and efficient.
To make it real, today, we are going to learn about everything you need to set up your VS Code for maximum productivity. We are going to cover many amazing Extensions, Themes, Shortcuts, and Settings to help you set up your tool properly and deliver great work in no time.
1. Auto Save

Auto Save is a productivity booster feature in VS Code that frees you from manually saving the file. Instead, VS Code will automatically save the file for you if the option is enabled.
Type [CTRL +] , or go to File -> Preferences -> Settings and type auto save.
There will be 3 options:
- afterDelay: Saves file after every second.
- onFocusChange: Saves file when the editor loses focus, like going to another file.
- onWindowChange: Saves file when the window loses focus, like going to another application outside VS Code.
2. Format on Save

Format on Save feature automatically formats your code every time the file is saved. Type [CTRL + ,] or go to File -> Preferences -> Settings and type format on save. Check the checkbox for Editor: Format On Save option.
Note: It works only if a formatter is installed. So make sure to install a formatter like Prettier etc. before enabling this option.
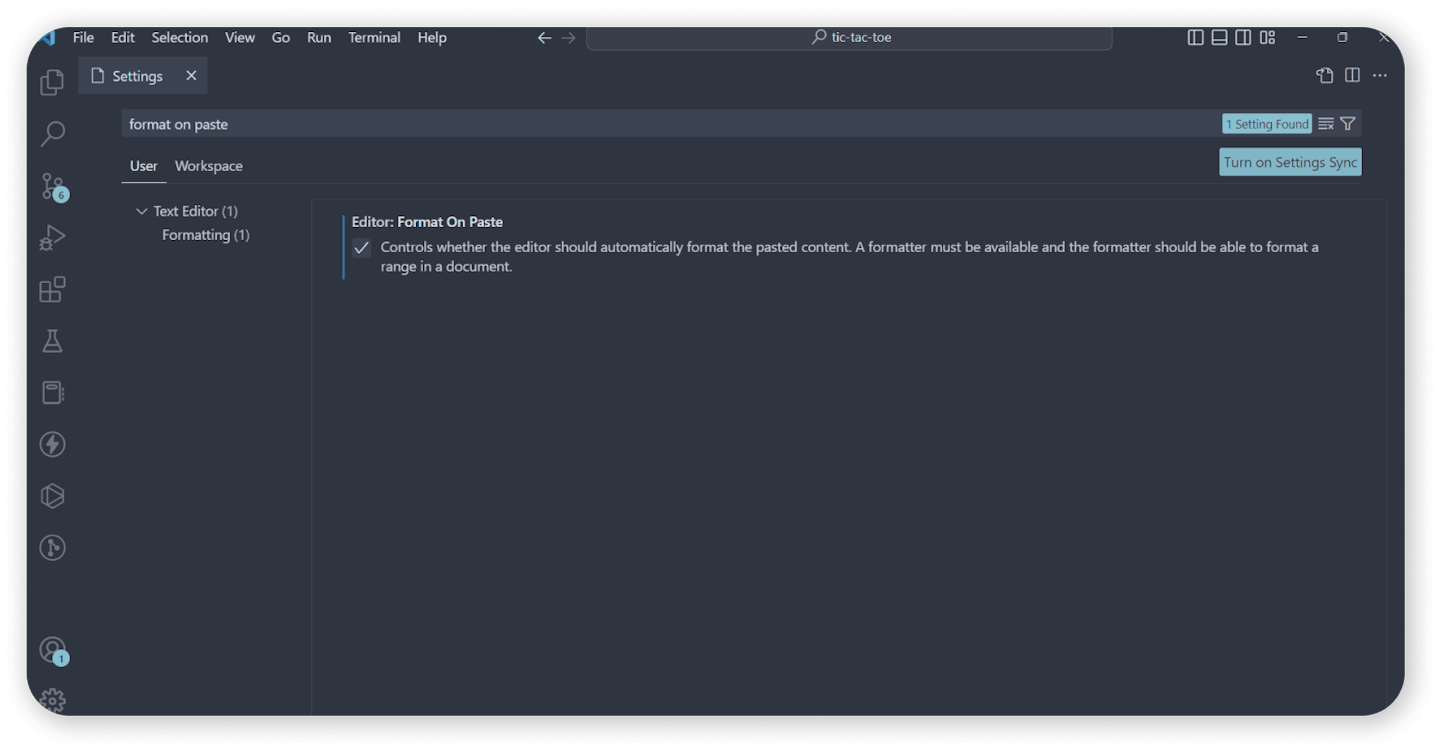
3. Format on Paste

Format on Paste is an amazing VS Code feature that formats your code for consistent styling every time you paste it from somewhere else.
If you are pasting the code from the internet or one of your old projects, as soon as you paste it, the code is automatically formatted to match your coding style.
Type [CTRL +] , or go to File -> Preferences -> Settings and type format on paste. Check the checkbox for Editor: Format On Paste option.
*****Note: You need a formatter like Prettier etc. already installed for it to work.
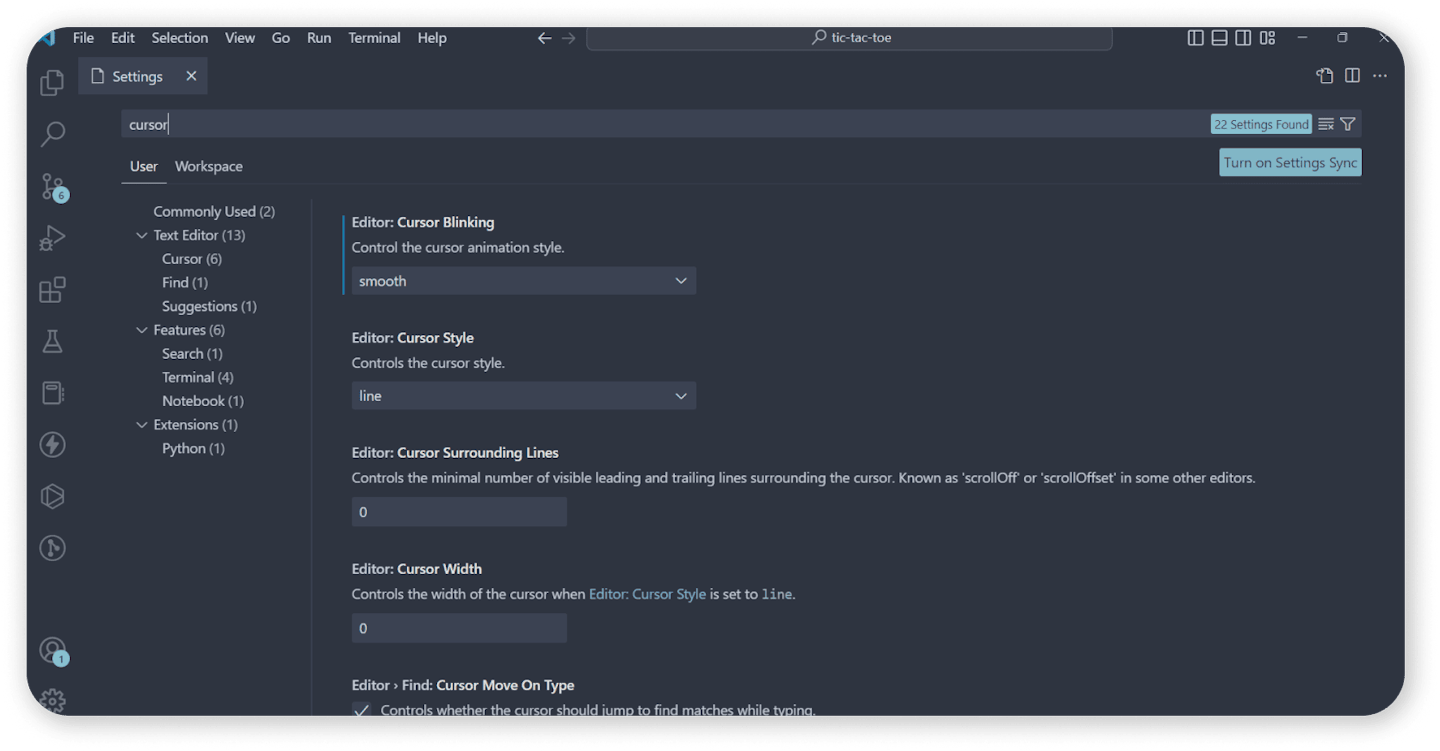
4. Customising Cursor

If you want to be more creative and try new things with the cursor, then VS Code gives you the option to customise it.
Type [CTRL +] , or go to File -> Preferences -> Settings and type cursor. Under Editor: Cursor Style, try out various options available. There are multiple cursor styles available like line, block, underline, etc.
You can also change the animation of the cursor. Animations are available under Editor: Cursor Blinking. Choose between blink, smooth, phase, solid, and expand and set the one that you like the most.
5. Bracket Pair Colorization

Bracket Pair Colorization feature in VS Code makes it super easy to identify the same set of brackets by giving them different colors.
Coding involves working with lots of brackets and often times there are multiple nested brackets in a function or loop etc. and it becomes really annoying to identify which closing pair belongs to which bracket. This feature helps you tackle the same issue.
Type [CTRL +] , or go to File -> Preferences -> Settings and type bracket pair colorization. Check the checkbox for Editor › Bracket Pair Colorization: Enabled option.
Wrapping up
That’s the end of the article. We covered a lot of things today and I hope you have learned a lot and will put everything to good use.
One of the good habits to cultivate in life as a programmer is to do things on time. So if you are still reading, then open your VS Code window and try out everything you learned in this article, and set up everything correctly to unlock maximum productivity for the next time when you are coding in VS Code.
READ MORE:
